Friday, July 6, 2012

Project 3 : Done! :)

My very first 3dmax animation :') Hope you guys enjoy it.

Despite the long rendering hours, animation was actually kinda fun :) Now, I can officially post this shoutout that I craved to post up long ago : 
.
..
...
....
...
..
.

I SURVIVED COM APP 2
*cheers to self*


p/s : sorry that the uploaded video quality is low.


Friday, June 8, 2012

Stage two : survived.

Presenting, my 3dmax rendering of Langen Foundation, by Tadao Ando. A master piece that captured light and shadow beautifully.


Personally, I'm pretty satisfied with the outcome, considering the fact that its my first time using 3dmax. The process was once again a roller coaster ride, tons of uphills and downhills. But guess what, I know this might sound weird but, I think I'm in love with 3d max :)

Stage 3, animation. Once again, feeling very intimidated but bring it on. Life is nothing without challenges, no? :)

Stage two : assigning materials.

Continuing the previous project, we were to assign materials to our building and produce realistic renderings. Before I started, I added in the landscape and some missing details like the doors, windows and the skylight.

Door handle drawn using line and chamfer tool.
Landscape

How I did the landscape : Draw plane >edit poly > enable soft selection > paint brush > push pull. When done, I applied turbo smooth to get a nice smooth hill.

Time to assign materials. First, a series of maps needed for the materials are prepared. I photoshop-ed all the materials before hand just so it looks more realistic.


Material mapped on object and adjusted with UVW map so it fits nicely.

 After all materials are assigned, the sun and cameras are added. Test rendering are conducted ALL THE TIME to make justifications. Especially at times when I want to cast the perfect shadow, I had to keep moving the sun and test render until I get the perfect angle.

Artificial lightings are added in after that. Models of spotlights, ground lights are imported, merged into my max file and placed respectively. Artificial lighting requires lots of test renders too because there are so many lights to choose from and test rendering is needed to pick out the perfect light to suit the building and overall atmosphere.

However for test render I reused the final gather for small images (320x200), just so the calculation step is skipped and the render time is decreased. Here are some test render images :


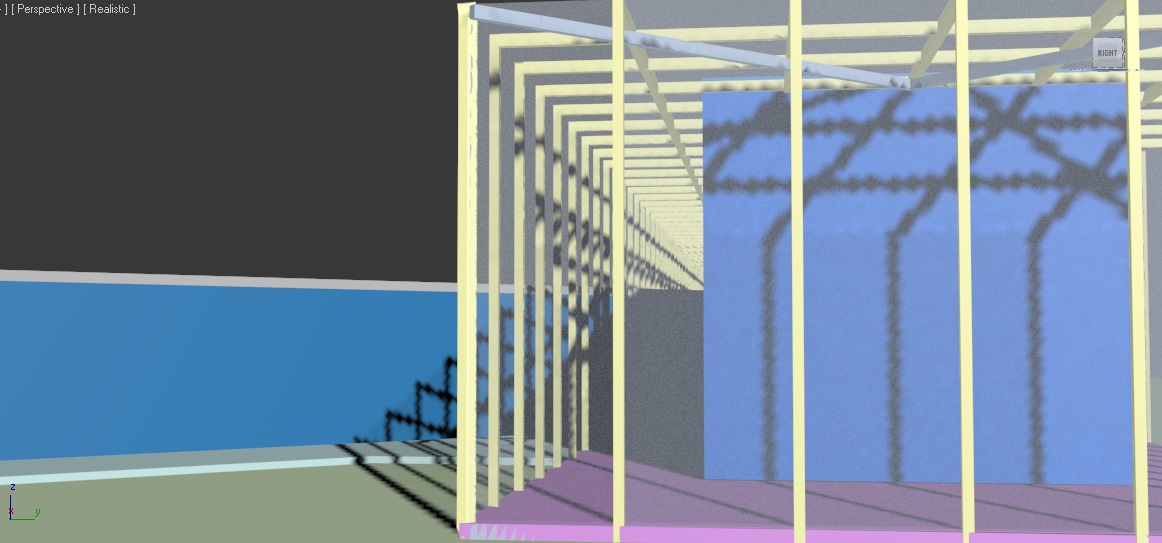
Wanted the sunlight to be casted on the floor through the skylight but it is casted on the wall instead. HAD TO MOVE THE SUN AGAIN ! Trust me, it's like playing hide and seek with the sun.


Upon satisfaction for the test render, it's time for the real rendering. I turned off the <reuse final gather> and I set the final gather to high just so more details are captured nicely. The image size is then set to 1200x900. One render took about 20-30 minutes, so while waiting, I touched up the rendered images with photoshop. Levels, colours and so on are adjusted to enhance the photo.


Yeap, basically these are the procedures and as for final renders, it will be in the next post~ :)

Thursday, May 3, 2012

Completed :)

Upon completion, components of the model were scattered around different layers. Thus, things are tidied up simply by organizing every component into their specific layer.


Also the Cad plan is removed. So here it is, the final product :)

Beams~~~~~~~~
Interior components.
The ramp.


Actually, 3D max ain't that bad~ Although I did had some struggles throughout but overall I kinda enjoyed. The process was like an emotion roller coaster ride. At times when I couldn't do what I want, I felt really really sad, down, nervous, sometimes even freak out, complaining about how un-user friendly 3D max is. But when the solution is found(much thanks to Mr.Google), the happiness instantlyyyy, seriously instantly made me forget alllll the previous frustration~ and kept me motivated~ :D

Can't wait for project 2 & 3 where more discoveries will be made. Till then~ :)


Work in Process 2.0

A lil update on my progression >>>

<Bridge> tool to connect the wall and create openings.
Used <Boolean> tool to create skylights.
Interior view looking above the skylights.
Copying the beams
 Sadly a problem occured while cloning the beam. It doesn't allow me to key in the number of copies as usual, so I had to paste them one by one. Thank God there's SNAP ~~ :)

Beams are done.

Little bit more to go, pls bare with me 3D max~~ :)

Wednesday, May 2, 2012

Work in process

To start off, I've first done the plan drawing using AutoCad.


Next, I imported the cad file into 3D max.


After that, I began drawing. Here's a series of my progression.

Extruded the walls, beams, etc.

Did the staircase.

 How I did the stairs : Draw a step, copy <instance>,snap the edge of the step properly, then key in the number of copies.)

staircase done

Creating the ramp.

 I extruded the ramp to the right thickness, then modified it with <edit spline>, and move the vertex to the correct height.

Same method goes to the balustrade, but this time I used <edit poly>

So this is my current progression. So far so good i guess?


Ok, back to work. NEVER SAY NEVER! :)

Langen Foundation


Name          : Langen Foundation
Architect     : Tadao Ando
Function      : Art Museum
Description :  A masterpiece composed of lines and a fascinating interplay between inside and outside, art and nature, massiveness and lightness. It is a constructed place that is not only an envelope for art but also exhibits itself.


Gona do a 3D model of it using 3D max. Wish me luck ! :)